|
| Christmas Granola |
The gift giving repertoire for teachers has expanded in our time, but my memories remain vivid and inspire me to carve out an afternoon or evening each December for a gift making project - something consumable for our wonderful teachers. When the kids chip in, it connects us to gratitude in a way I think my mother would appreciate!
Granola is a great thing to make with kids ( I like involving them in prep and packaging) and it's easy to personalize with your favorite nuts and fruits. Our granola formula is the beginning of a great tasting, good for you gift that makes the whole house smell wonderful! Merry Christmas!

Christmas Granola
another formula from our kitchen
Ingredients:
Base:
8 c oats (Bob's Red Mill, 32 oz bag)
2 c shredded or flaked coconut
(Bob's again)
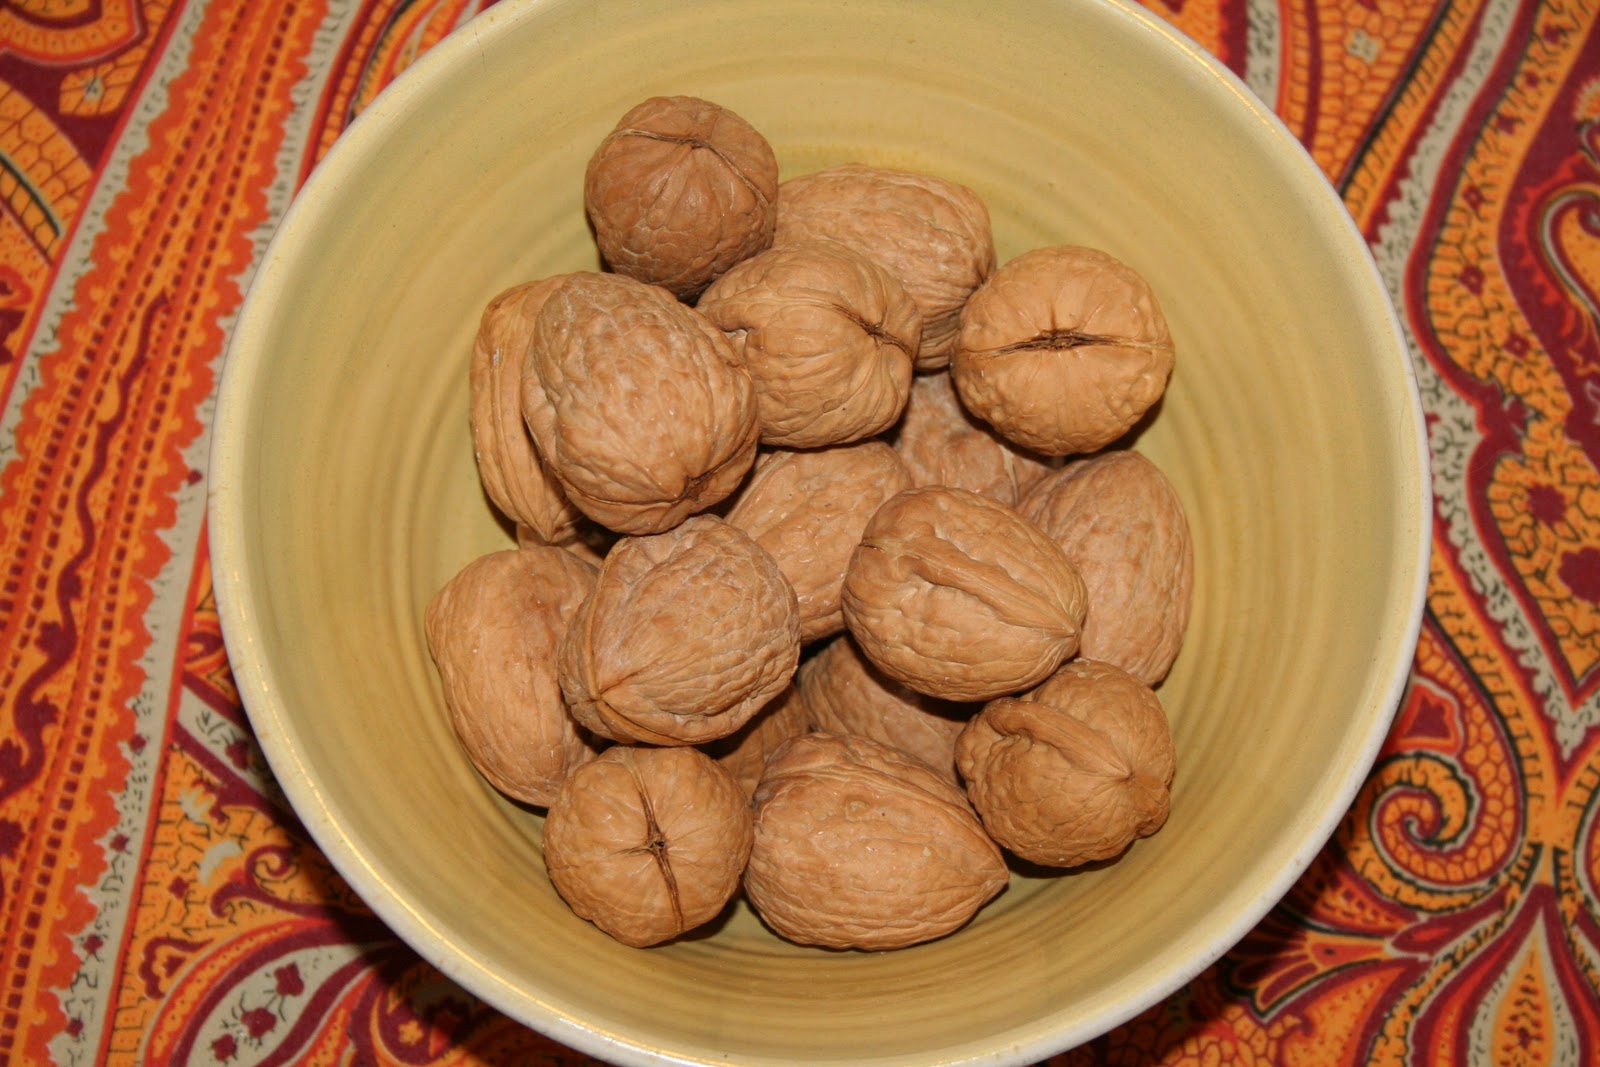
3 c nuts, chopped
(we use almonds and pecans - add your favorites)
1 c seeds (use your favorite - pumpkin, sesame, flax, sunflower,etc.)
'Glue':
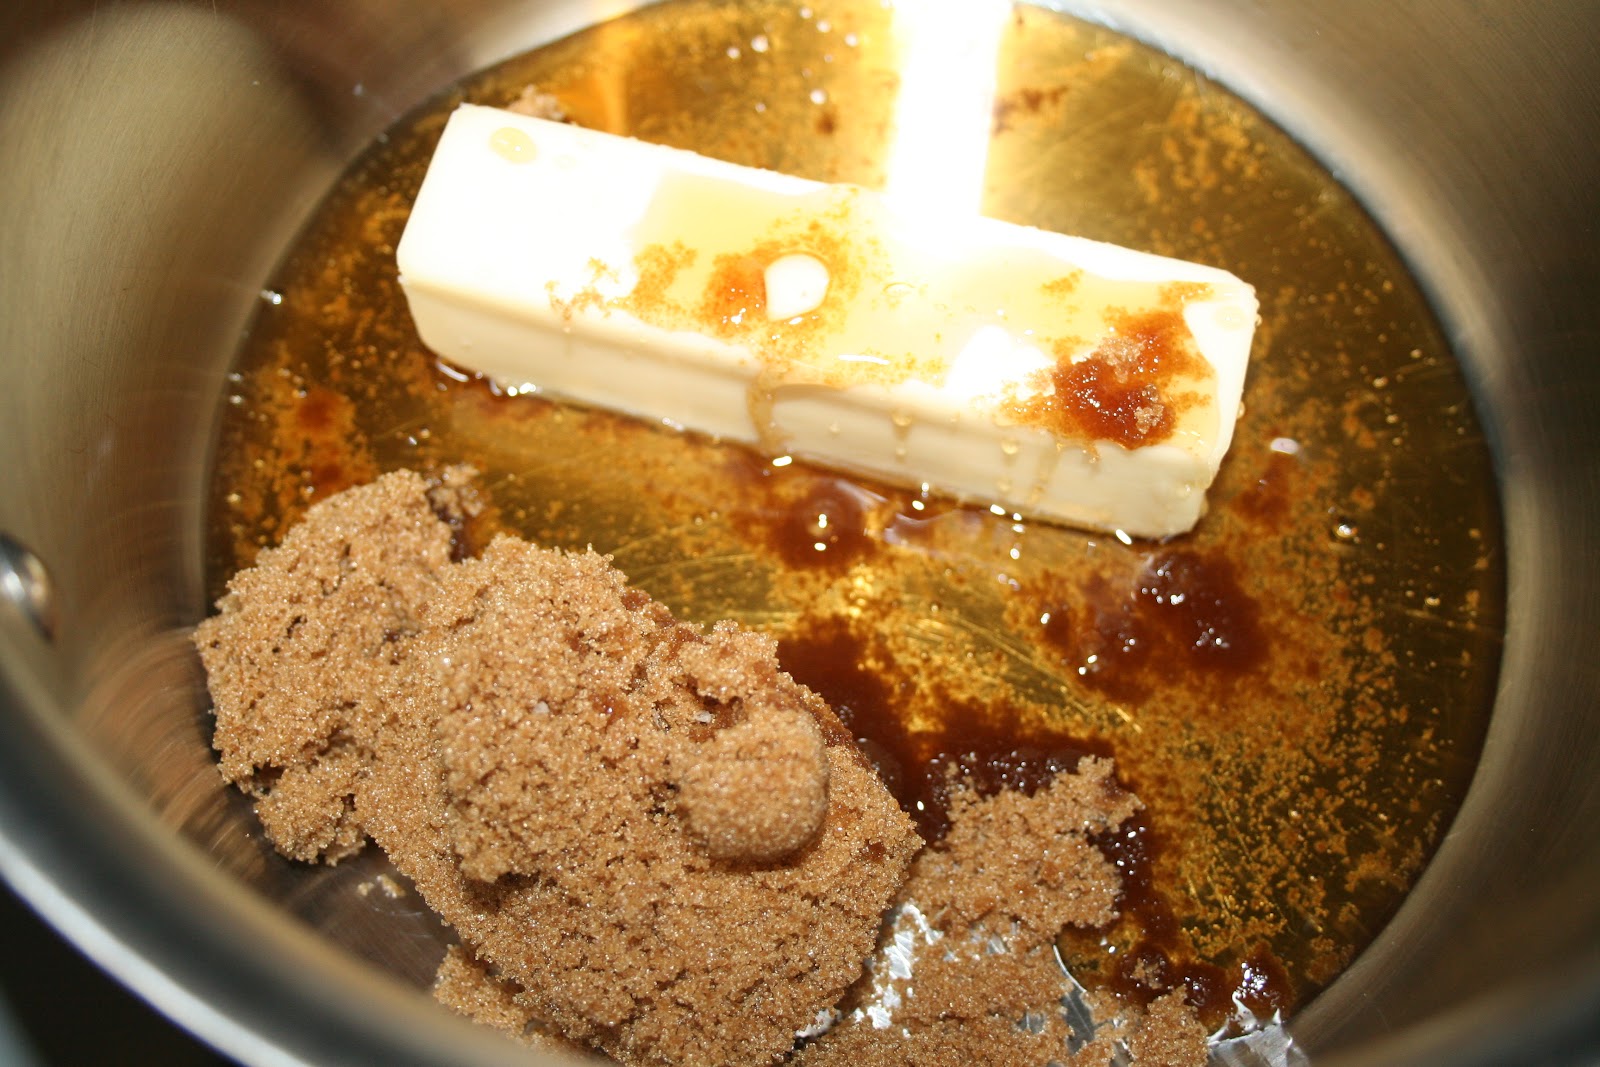
1 stick, unsalted butter
1/3 c brown sugar (we use dark)
1/3 c sweetener (honey, maple syrup, agave, etc.)
1/4 c oil (we use canola)
1 t kosher salt

Finale:
 3 c dried fruit, diced
(mix it up - apricots, blueberries, cherries, craisins, dates, figs or raisins)
Mason Jars, small bags or other airtight containers
stamps, stickers, pens - kids love to design family lables
Directions:
 1. Preheat the oven to 350 degrees. Chop the nuts while you wait for the oven to preheat. Toss the base ingredients together.
 2. In a saucepan over medium heat, melt the glue ingredients until combined. Pour over base and toss again. Spread out in two large rimmed baking sheets.
2. Bake for 30 minutes, rotating after 15 minutes or so. I don't recommend tossing the oat mixture when you rotate. I like it to bake together in yummy clumps. Chop your dried fruits while you wait.
3. Remove and let cool. Toss with dried fruit and package in airtight containers for gifting. We use mason jars - bags sealed would also work.
 |
| Our tag-making station |